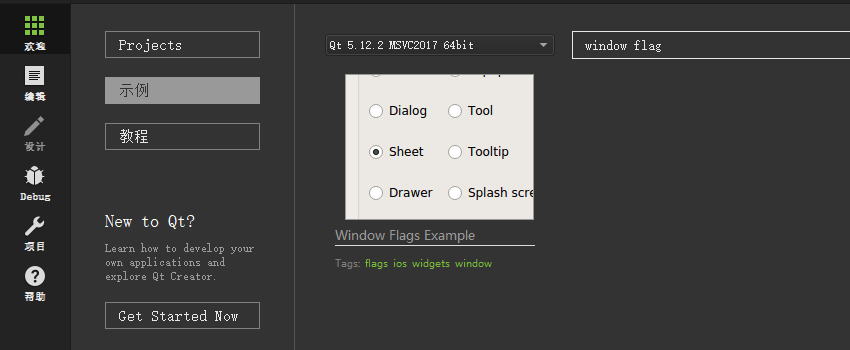
窗口标志示例展示了如何使用Qt中可用的窗口标志类型来指定窗口系统属性。
根据示例整理出来的各窗口标志作用一览表如下:
- 只能设置一个的窗口标志对照表
| 窗口标志 | 描述 |
|---|---|
| Qt::QWidget | 窗口的默认属性 |
| Qt::Window | 带有窗口系统框架和标题栏 |
| Qt::Dialog | 对话框(通常标题栏中没有最大化或最小化按钮) |
| Qt::Sheet | macOS表单式窗口 |
| Qt::Drawer | macOS抽屉式窗口 |
| Qt::Popup | 弹出式顶层窗口 |
| Qt::Tool | 显示工具按钮的窗口 |
| Qt::Tooltip | 没有标题栏和窗口边框的窗口 |
| Qt::SplashScreen | 启动窗口类似于QSplashScreen |
- 可以设置多个的窗口标志对照表
| 窗口标志 | 描述 |
|---|---|
| Qt::MSWindowsFixedSizeDialogHint | Windows系统固定大小窄边框窗口 |
| Qt::X11BypassWindowManagerHint | 无窗口边框的窗口,完全忽视窗口管理器和用户无法使用键盘进行输入 (除非手动调用 QWidget::activateWindow()函数 |
| Qt::FramelessWindowHint | 无法移动和改变大小的无窗口边框的窗口 |
| Qt::NoDropShadowWindowHint | 禁用窗口阴影 |
| Qt::WindowTitleHint | 带标题栏的窗口 |
| Qt::WindowSystemMenuHint | 带系统菜单和尽可能地添加一个关闭按钮的窗口 |
| Qt::CustomizeWindowHint | 关闭默认窗口标题提示栏 |
| Qt::WindowMinimizeButtonHint | 窗口添加一个最小化按钮 |
| Qt::WindowMaximizeButtonHint | 窗口添加一个最大化按钮 |
| Qt::WindowCloseButtonHint | 窗口添加一个关闭按钮 |
| Qt::WindowContextHelpButtonHint | 窗口添加一个帮助按钮 |
| Qt::WindowShadeButtonHint | 如果窗口管理器支持,则在最小化按钮的位置添加一个阴影按钮 |
| Qt::WindowStaysOnTopHint | 通知窗口系统置顶窗口 |
| Qt::WindowStaysOnBottomHint | 通知窗口系统置于最底层窗口 |
- 部分代码(更新窗口标志)
1
2
3
4
5
6
7
8
9
10
11
12
13
14
15
16
17
18
19
20
21
22
23
24
25
26
27
28
29
30
31
32
33
34
35
36
37
38
39
40
41
42
43
44
45
46
47
48
49
50
51
52
53
54
void ControllerWindow::updatePreview()
{
Qt::WindowFlags flags = 0;
if (windowRadioButton->isChecked()) {
flags = Qt::Window;
} else if (dialogRadioButton->isChecked()) {
flags = Qt::Dialog;
} else if (sheetRadioButton->isChecked()) {
flags = Qt::Sheet;
} else if (drawerRadioButton->isChecked()) {
flags = Qt::Drawer;
} else if (popupRadioButton->isChecked()) {
flags = Qt::Popup;
} else if (toolRadioButton->isChecked()) {
flags = Qt::Tool;
} else if (toolTipRadioButton->isChecked()) {
flags = Qt::ToolTip;
} else if (splashScreenRadioButton->isChecked()) {
flags = Qt::SplashScreen;
}
if (msWindowsFixedSizeDialogCheckBox->isChecked())
flags |= Qt::MSWindowsFixedSizeDialogHint;
if (x11BypassWindowManagerCheckBox->isChecked())
flags |= Qt::X11BypassWindowManagerHint;
if (framelessWindowCheckBox->isChecked())
flags |= Qt::FramelessWindowHint;
if (windowNoShadowCheckBox->isChecked())
flags |= Qt::NoDropShadowWindowHint;
if (windowTitleCheckBox->isChecked())
flags |= Qt::WindowTitleHint;
if (windowSystemMenuCheckBox->isChecked())
flags |= Qt::WindowSystemMenuHint;
if (windowMinimizeButtonCheckBox->isChecked())
flags |= Qt::WindowMinimizeButtonHint;
if (windowMaximizeButtonCheckBox->isChecked())
flags |= Qt::WindowMaximizeButtonHint;
if (windowCloseButtonCheckBox->isChecked())
flags |= Qt::WindowCloseButtonHint;
if (windowContextHelpButtonCheckBox->isChecked())
flags |= Qt::WindowContextHelpButtonHint;
if (windowShadeButtonCheckBox->isChecked())
flags |= Qt::WindowShadeButtonHint;
if (windowStaysOnTopCheckBox->isChecked())
flags |= Qt::WindowStaysOnTopHint;
if (windowStaysOnBottomCheckBox->isChecked())
flags |= Qt::WindowStaysOnBottomHint;
if (customizeWindowHintCheckBox->isChecked())
flags |= Qt::CustomizeWindowHint;
previewWindow->setWindowFlags(flags);
...
}
关于更多
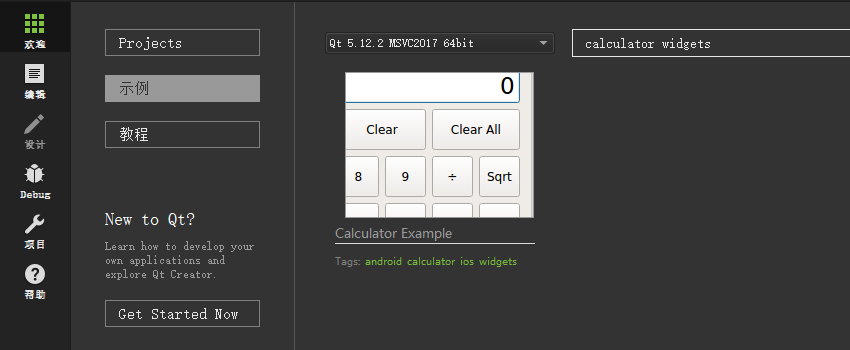
- 在QtCreator软件可以找到:
或在以下Qt安装目录找到:
1
C:\Qt\{你的Qt版本}\Examples\{你的Qt版本}\widgets\widgets\windowflags
相关链接
1
https://doc.qt.io/qt-5/qtwidgets-widgets-windowflags-example.html
Qt君公众号回复『Qt示例』获取更多内容。