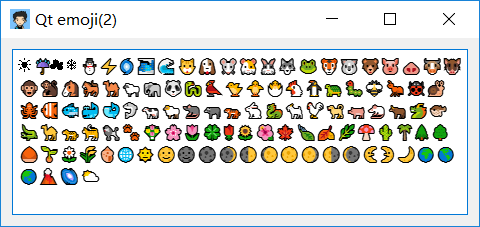
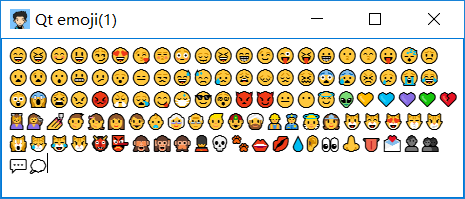
收集一些Qt富文本控件支持的emoji表情。
下列是关于物体主题的表情。
使用
- Qt版本5.12.1
- 直接复制表情到Qt设计师的富文本框(QPlainTextEdit)就可以显示了。
1
2
3
4
5
6
7
8
9
10
11
12
13
14
15
16
17
18
19
20
21
22
23
24
25
26
🎍💝🎎🎒🎓🎏🎆🎇🎐🎑
🎃👻🎅🎄🎁🔔🔕🎋🎉🎊
🎈🔮💿📀💾📷📹🎥💻📺
📱☎️📞📟📠💽📼🔉🔈🔇
📢📣⌛️⏳⏰⌚️📻📡➿🔍
🔎🔓🔒🔏🔐🔑💡🔦🔆🔅
🔌🔋📲✉️📫📮🛀🛁🚿🚽
🔧🔩🔨💺💰💴💵💷💶💳
💸📧📥📤✉️📨📯📪📬📭
📦🚪🚬💣🔫🔪💊💉📄📃
📑📊📈📉📜📋📆📅📇📁
📂✂️📌📎✒️✏️📏📐📕📗
📘📙📓📔📒📚🔖📛🔬🔭
📰🏈🏀⚽️⚾️🎾🎱🏉🎳⛳️
🚵🚴🏇🏂🏊🏄🎿♠️♥️
♣️♦️💎💍🏆🎼🎹🎻👾🎮
🃏🎴🎲🎯🀄️🎬📝📝📖🎨
🎤🎧🎺🎷🎸👞👡👠💄👢
👕👔👚👗🎽👖👘👙🎀🎩
👑👒👞🌂💼👜👝👛👓🎣
☕️🍵🍶🍼🍺🍻🍸🍹🍷🍴
🍕🍔🍟🍗🍖🍝🍛🍤🍱🍣
🍥🍙🍘🍚🍜🍲🍢🍡🥚🍞
🍩🍮🍦🍨🍧🎂🍰🍪🍫🍬
🍭🍯🍎🍏🍊🍋🍒🍇🍉🍓
🍑🍈🍌🍐🍍🍠🍆🍅🌽
关于更多
Qt君公众号后台回复”Qt表情“获取更多相关内容。